This is a very belated post, but I finally got around to it because I had to share my first experience in the world of gluten-free baking! I have to admit, the thought of using something besides the baking staple of all-purpose flour was actually terrifying to me. But, I'm happy to report that it was a great success and I'll be doing more experimenting soon!
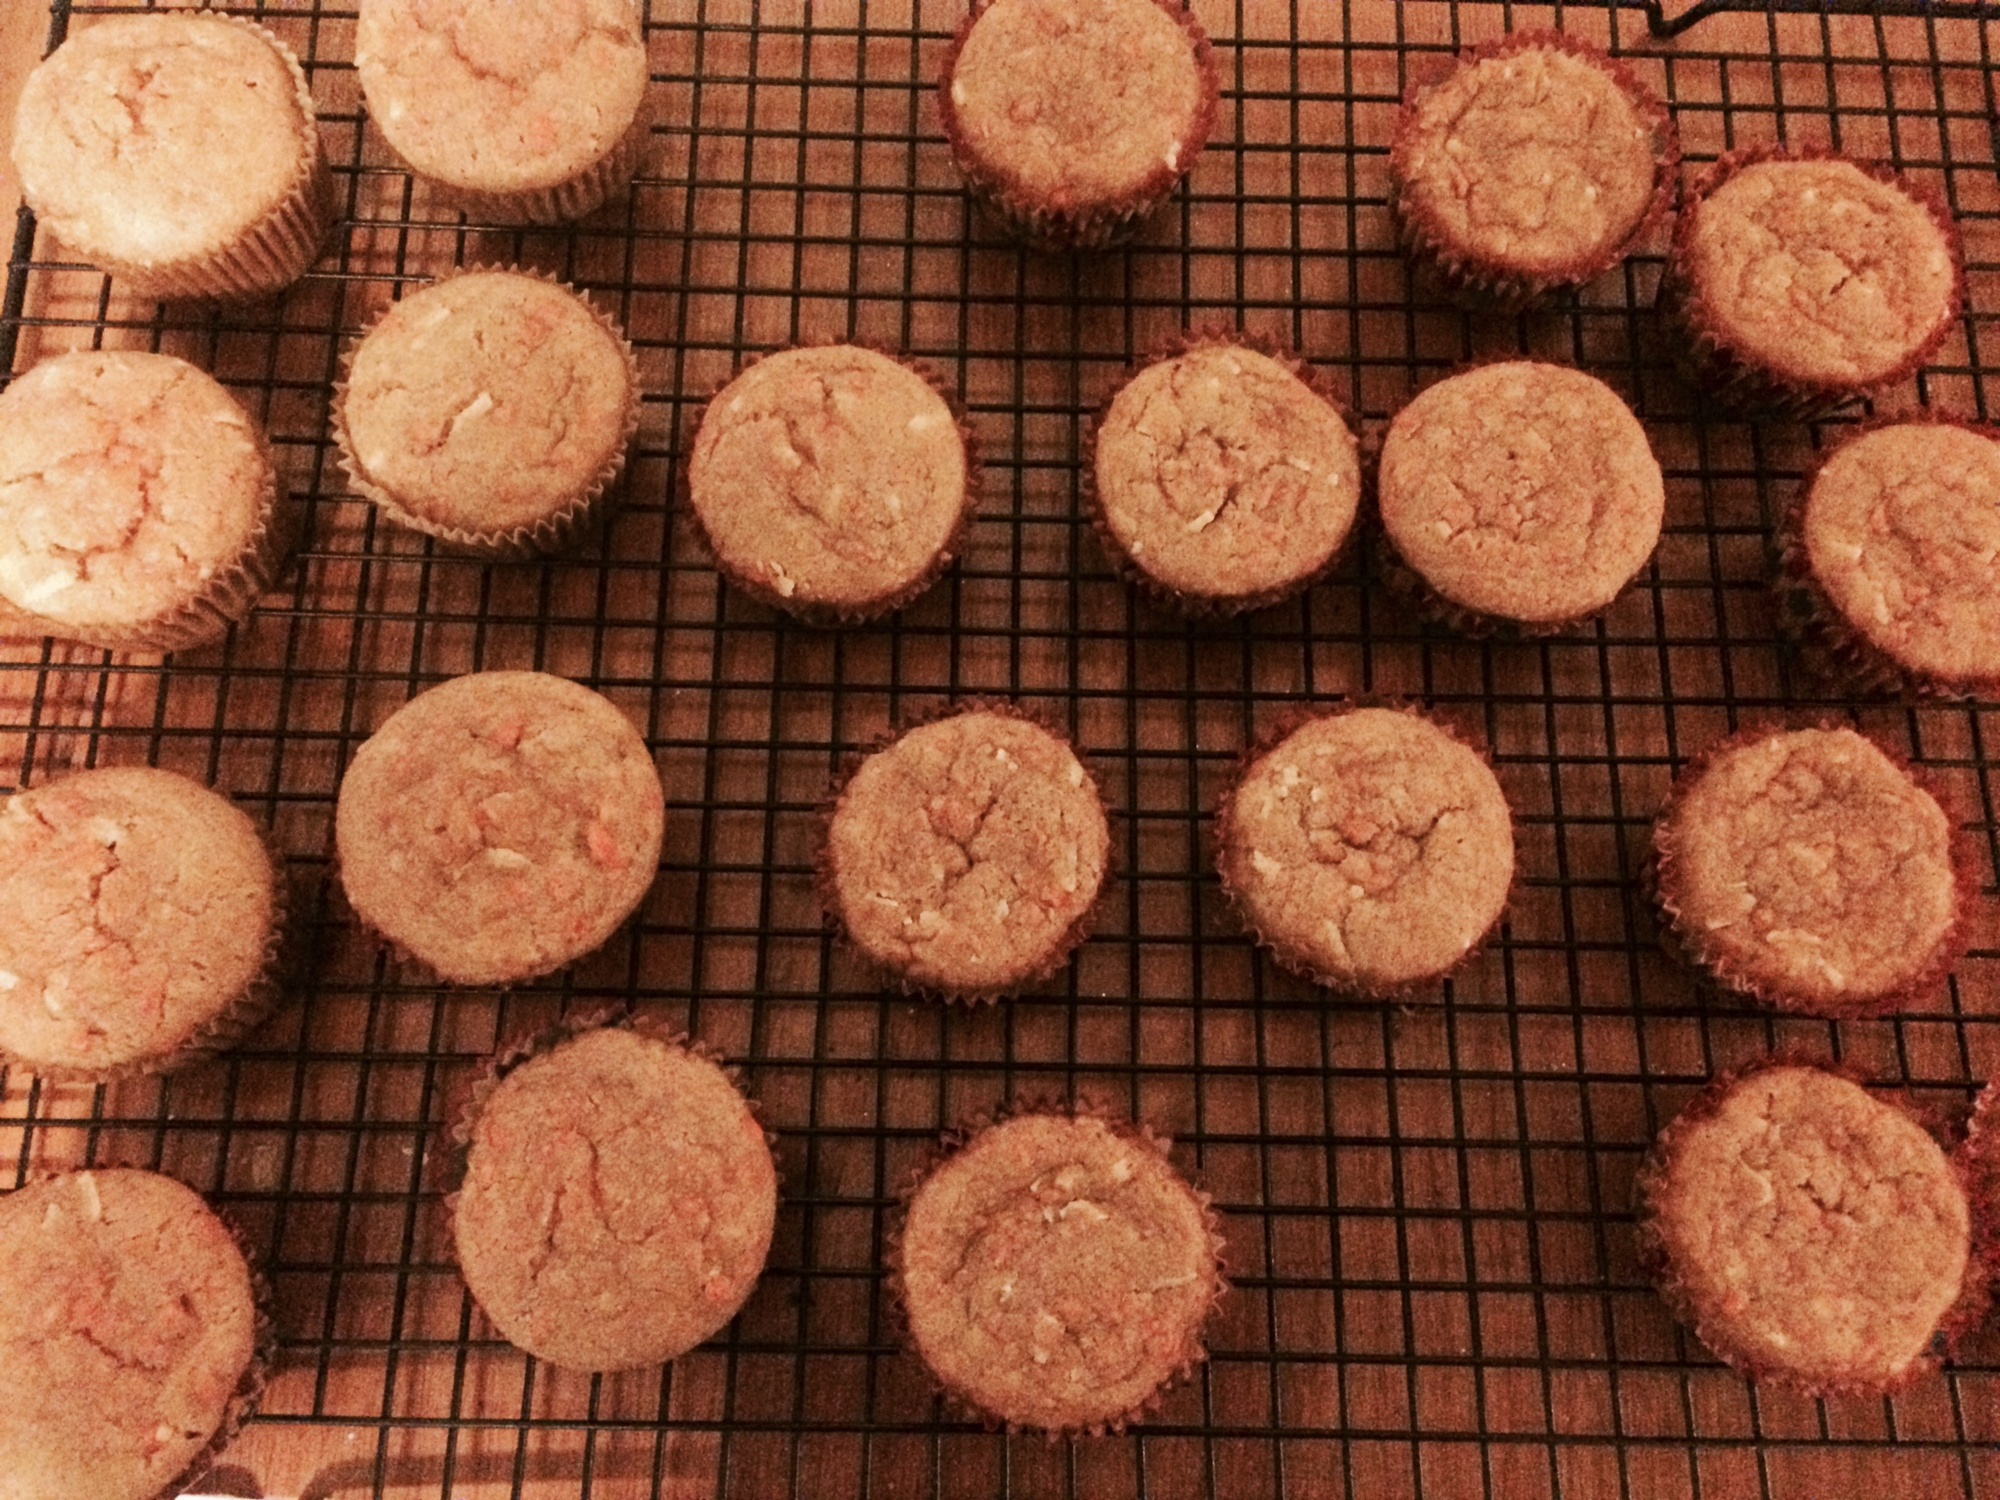
My friend Liv is newly gluten-free and requested carrot cake cupcakes for her birthday a while back. I had heard that gluten-free flour could dry out baked goods, but since carrot cake is so moist to begin with I was happy I got to start with that to ease my way into it. They actually came out nice and fluffy, while moist at the same time. I'm sure everyone says this, but you really could not tell that they were gluten-free!
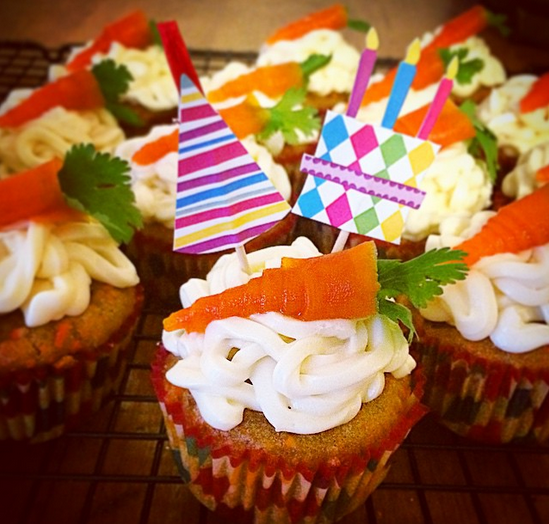
I went the extra mile and topped these with a candied carrot garnish, which you may recognize from my standard carrot cake cupcakes.
gluten-free carrot cake cupcakes with candied carrot garnishes
Carrot cake recipe adapted from Divas Can Cook, cream cheese frosting is my go-to recipe, and candied carrots are an old trick I had up my sleeve and finally decided to share.
MAKES 22 CUPCAKES
Ingredients:
CUPCAKES
- 1 cup white sugar
- ½ cup brown sugar, packed
- 1 cup canola/vegetable oil
- 3 eggs
- 2 cups Pamela's artisan gluten-free flour
- 1½ teaspoons baking powder
- 1 teaspoon baking soda
- ½ teaspoon salt
- 1 tablespoon cinnamon
- ½ cup buttermilk
- 1 tablespoon pure vanilla extract
- 2½ cups carrots, finely shredded (I put them in the food processor until they resemble this texture)
- ½ cup pureed carrots (keep these in the food processor a little longer until they're mush)
- ½ cup sweet coconut flakes, finely shredded
FROSTING
- 16 oz (2 packs) full-fat cream cheese, softened to room temperature
- 1/2 cup (1 stick) butter, softened to room temperature
- 4 cups confectioners' sugar
- 2 teaspoons vanilla extract
- tiny bit of milk or cream if you need it
CANDIED CARROTS
- carrot peels
- 1 cup sugar
- 2 cups water
- Parsley, cilantro, or something leafy for the tops
Directions:
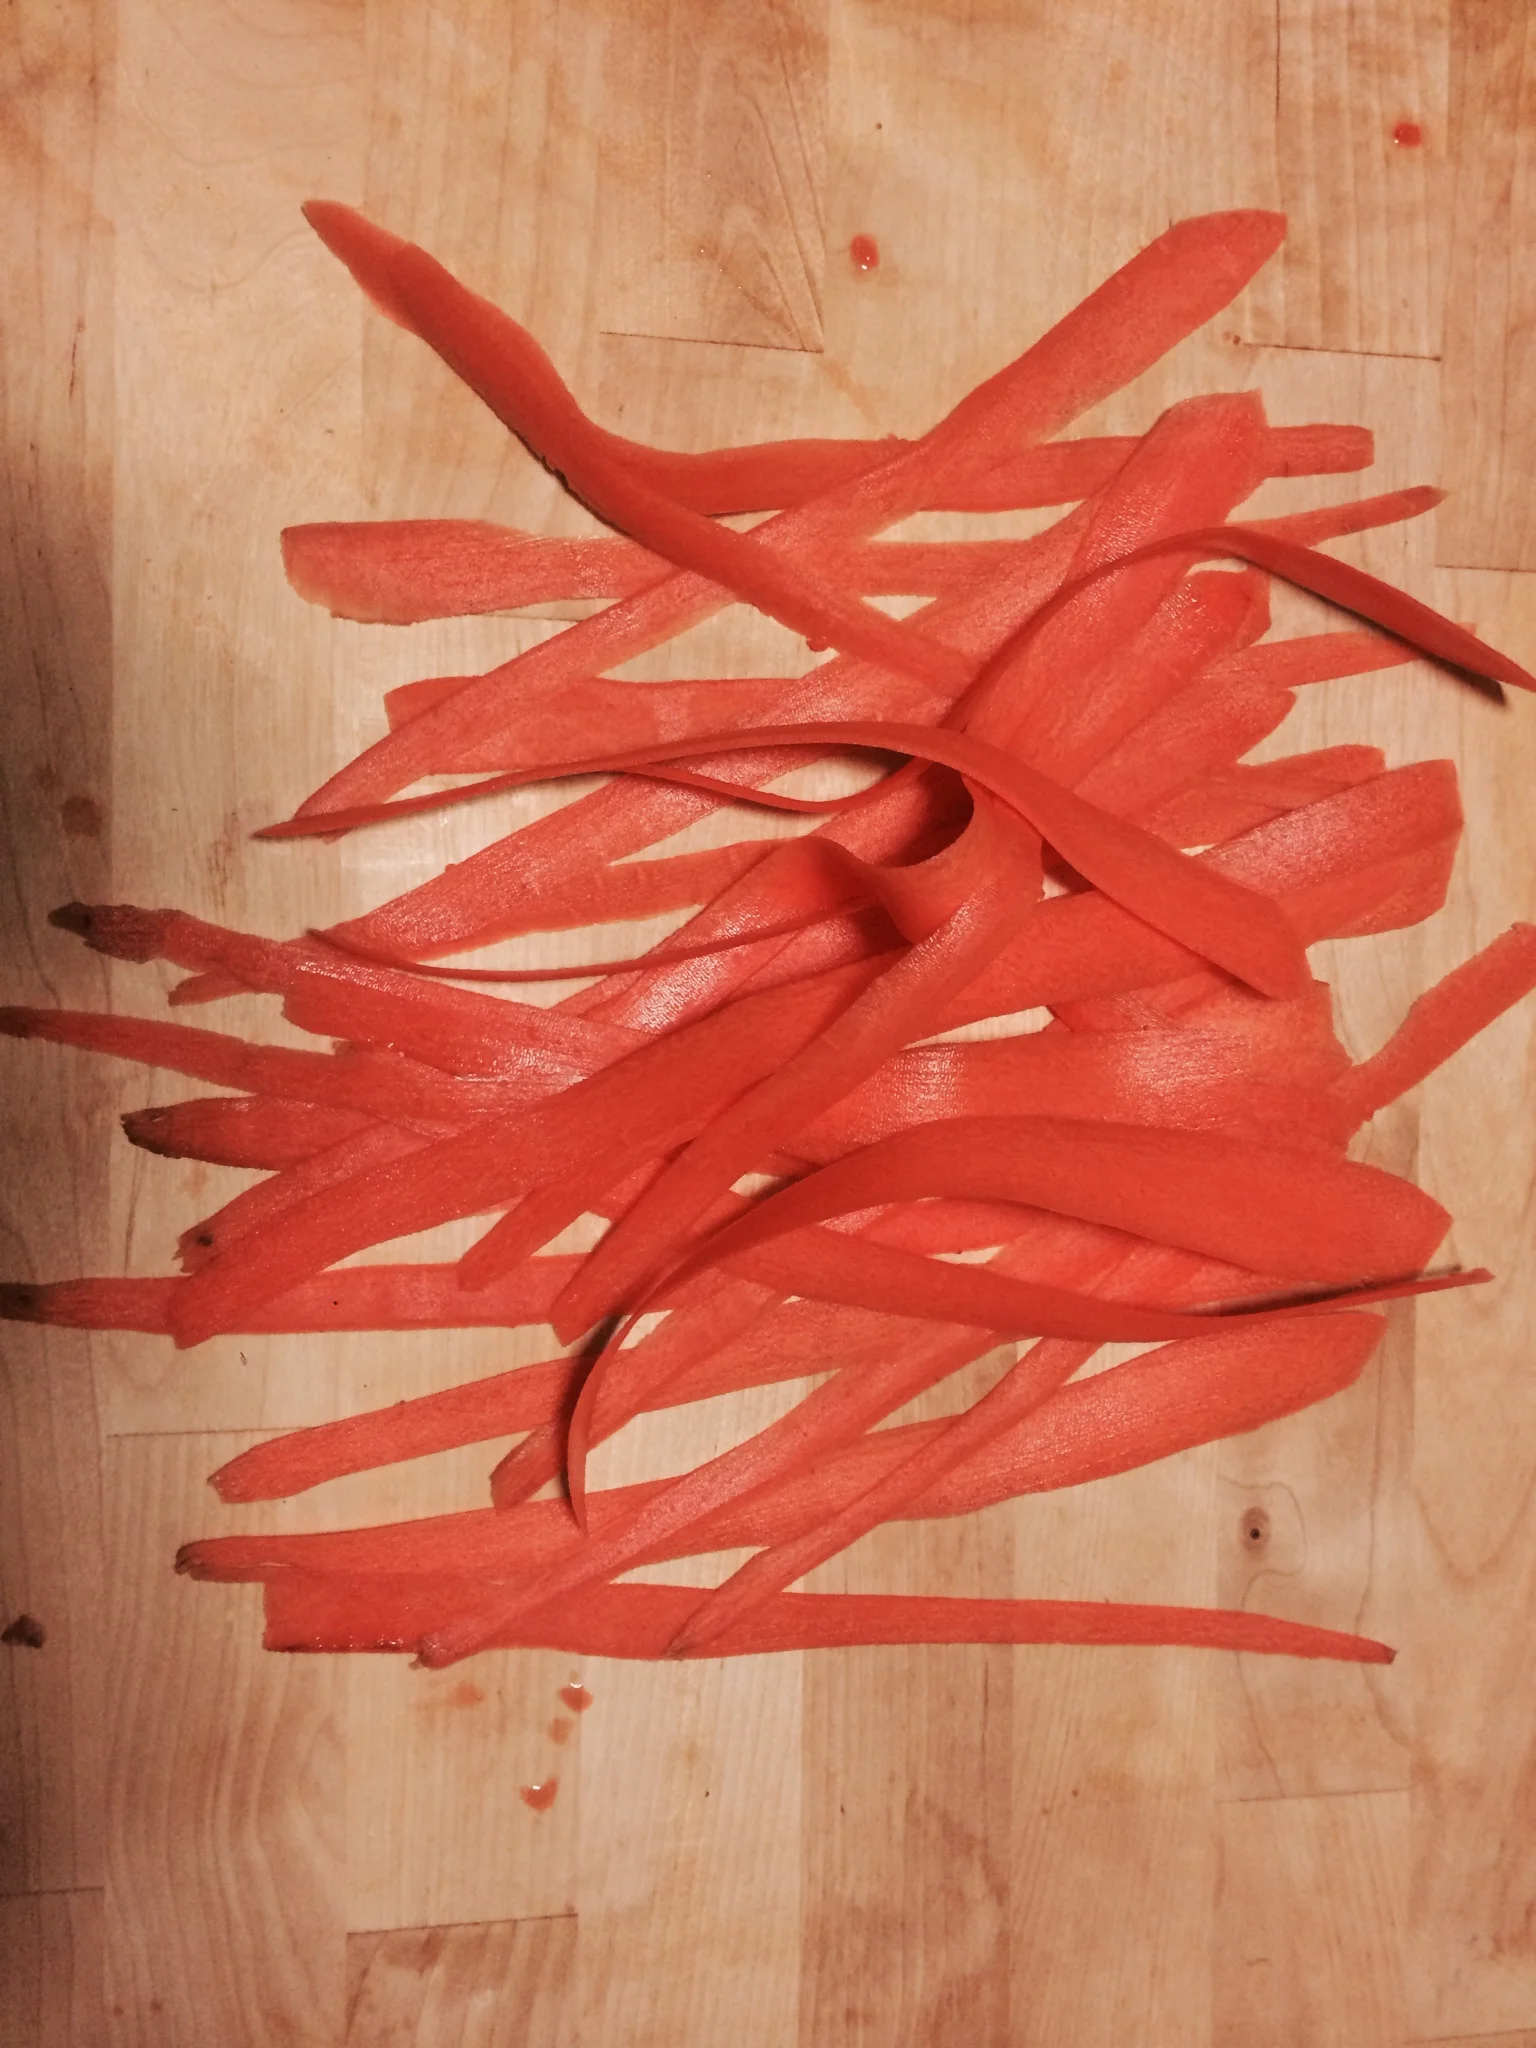
Start with peeling your carrots. You're going to need about 6 carrots total here to be safe. Peel the outer layer off all of the carrots and into the trash/compost/disposal/what have you. Then, slowly peel nice, long strips that can be used for your candied carrots. Give yourself about 25 strips to be safe - a few my break or shrivel along the way. Here's what your strips should look like:
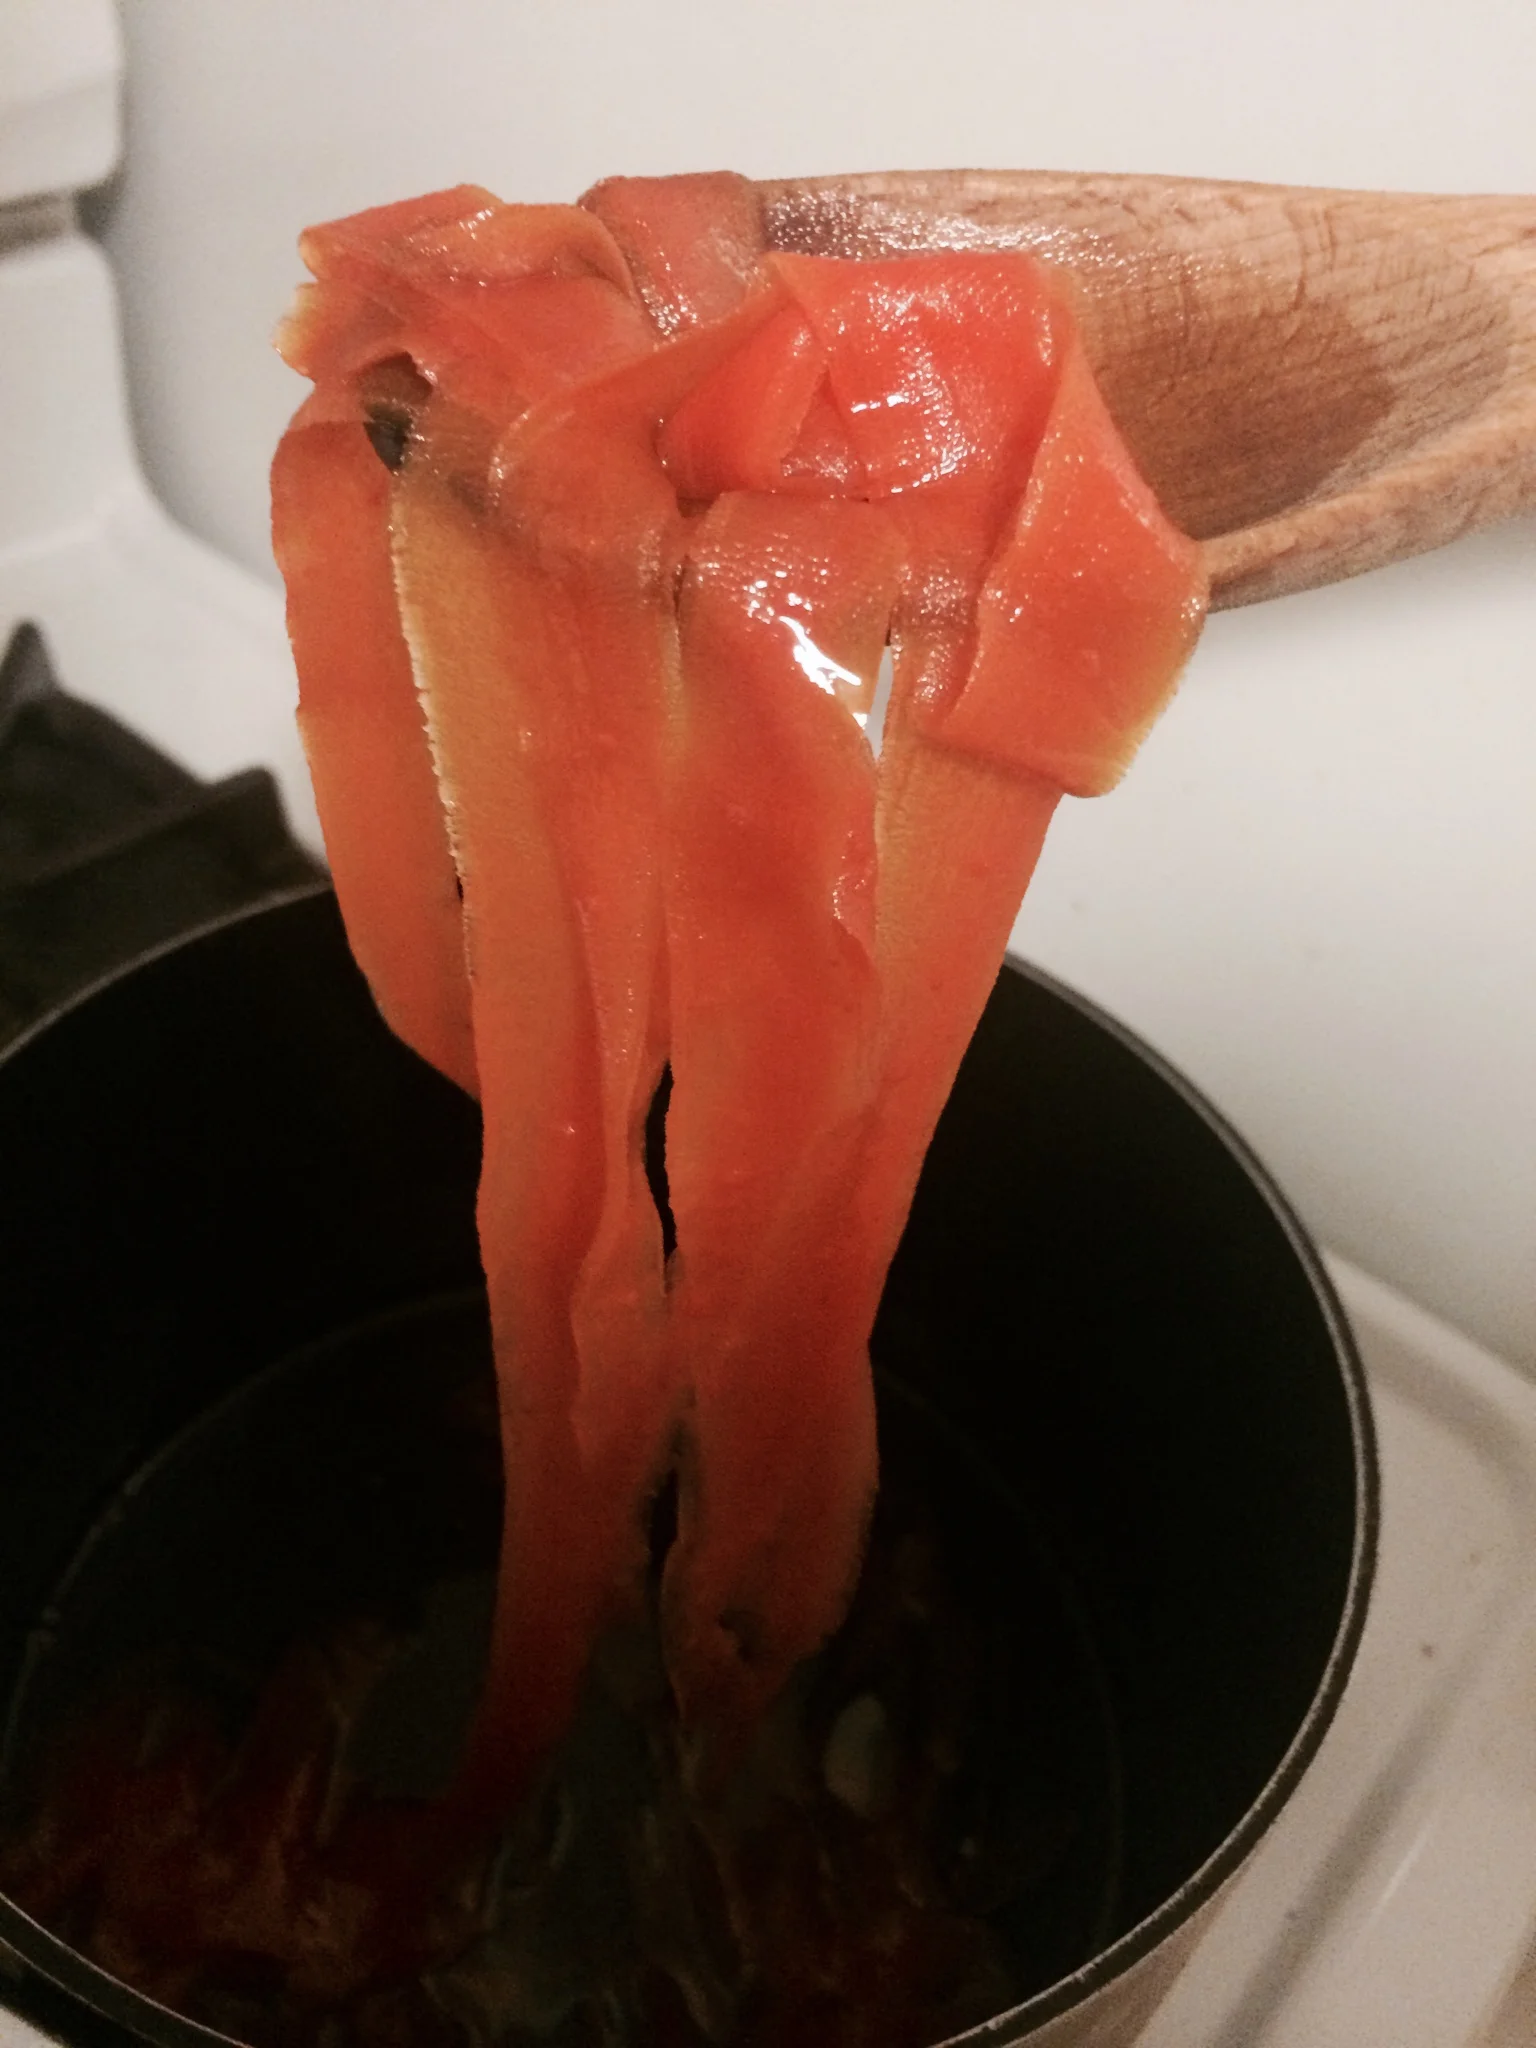
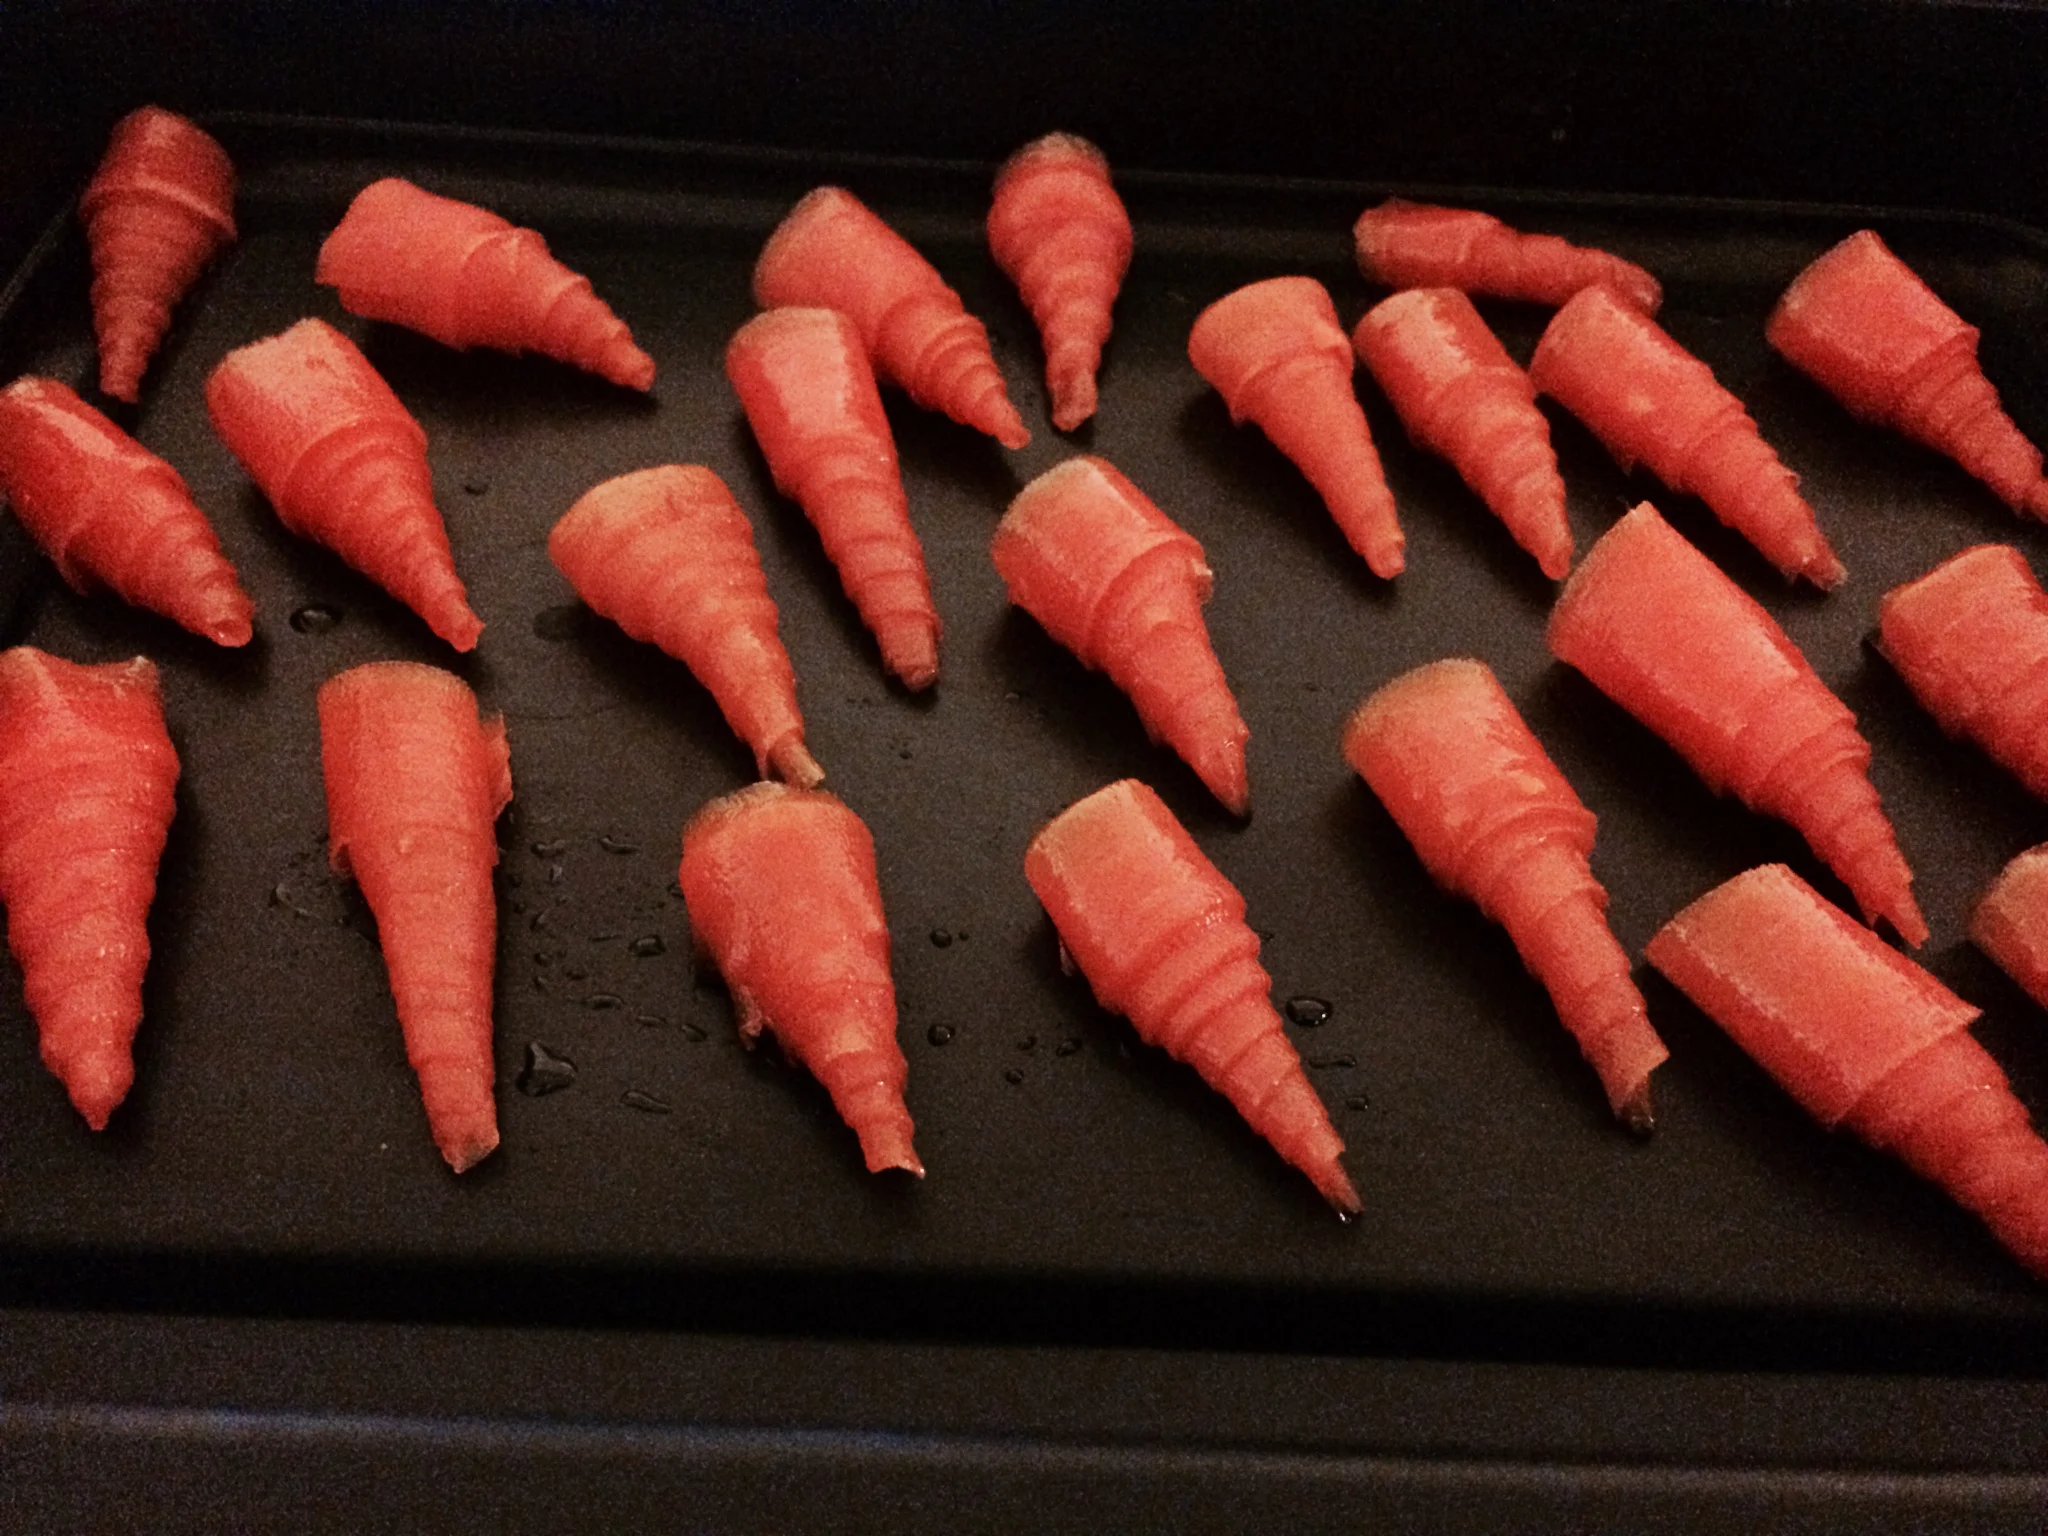
Meanwhile, boil 1 cup sugar and 2 cups water on medium to high heat, until the sugar is completely dissolved. Reduce the heat to low and dump in the carrot strips. Cook for about 10 minutes on low heat until the strips become transparent. Here's what they'll look like when they're done:
Let the carrots cool completely in the syrup. Meanwhile, chop the carrots that you've already peeled and throw them in the food processor. I used to grate the carrots by hand but found this to be way too time consuming. Just pulse them in the processor until they resemble the texture of shredded carrots - fine enough but not too wet.
In a large mixing bowl, mix the eggs, oil, and sugars. Add 2½ cups of the shredded carrots, then puree the remaining carrots to get one more ½ cup of pureed carrots to add.
Add the dry and wet ingredients, alternating between additions. Once your batter is complete, divide between cupcake tins and bake for around 18 minutes.
While the cupcakes are baking and cooling, you can start to form your candied carrots if they have cooled enough. Careful - this part gets a bit messy! Take a strip and roll it up, starting very tight at the tip and getting wider and wider as the layers build up to form mini carrot shapes. If the strips are too syrupy, run your fingers down them to scrape off excess syrup, or pat on a paper towel. You don't want them to be too dry or else they won't stick together or hold up, but they also shouldn't be sopping wet or they'll ruin your frosting.
Once you're done, these can be stored in a tupperware in the fridge for a few days. I like to put them on the cupcakes as close to serving as possible, since the syrup tends to leak a little bit on the frosting over time.
Next, whip up the cream cheese frosting ingredients to get your frosting. Remember that it's always better to have extra to pile on, and you can freeze it in a tupperware or baggie if you have extra! You'll be surprised how soon you might need your next batch of frosting (or I always am, anyway).
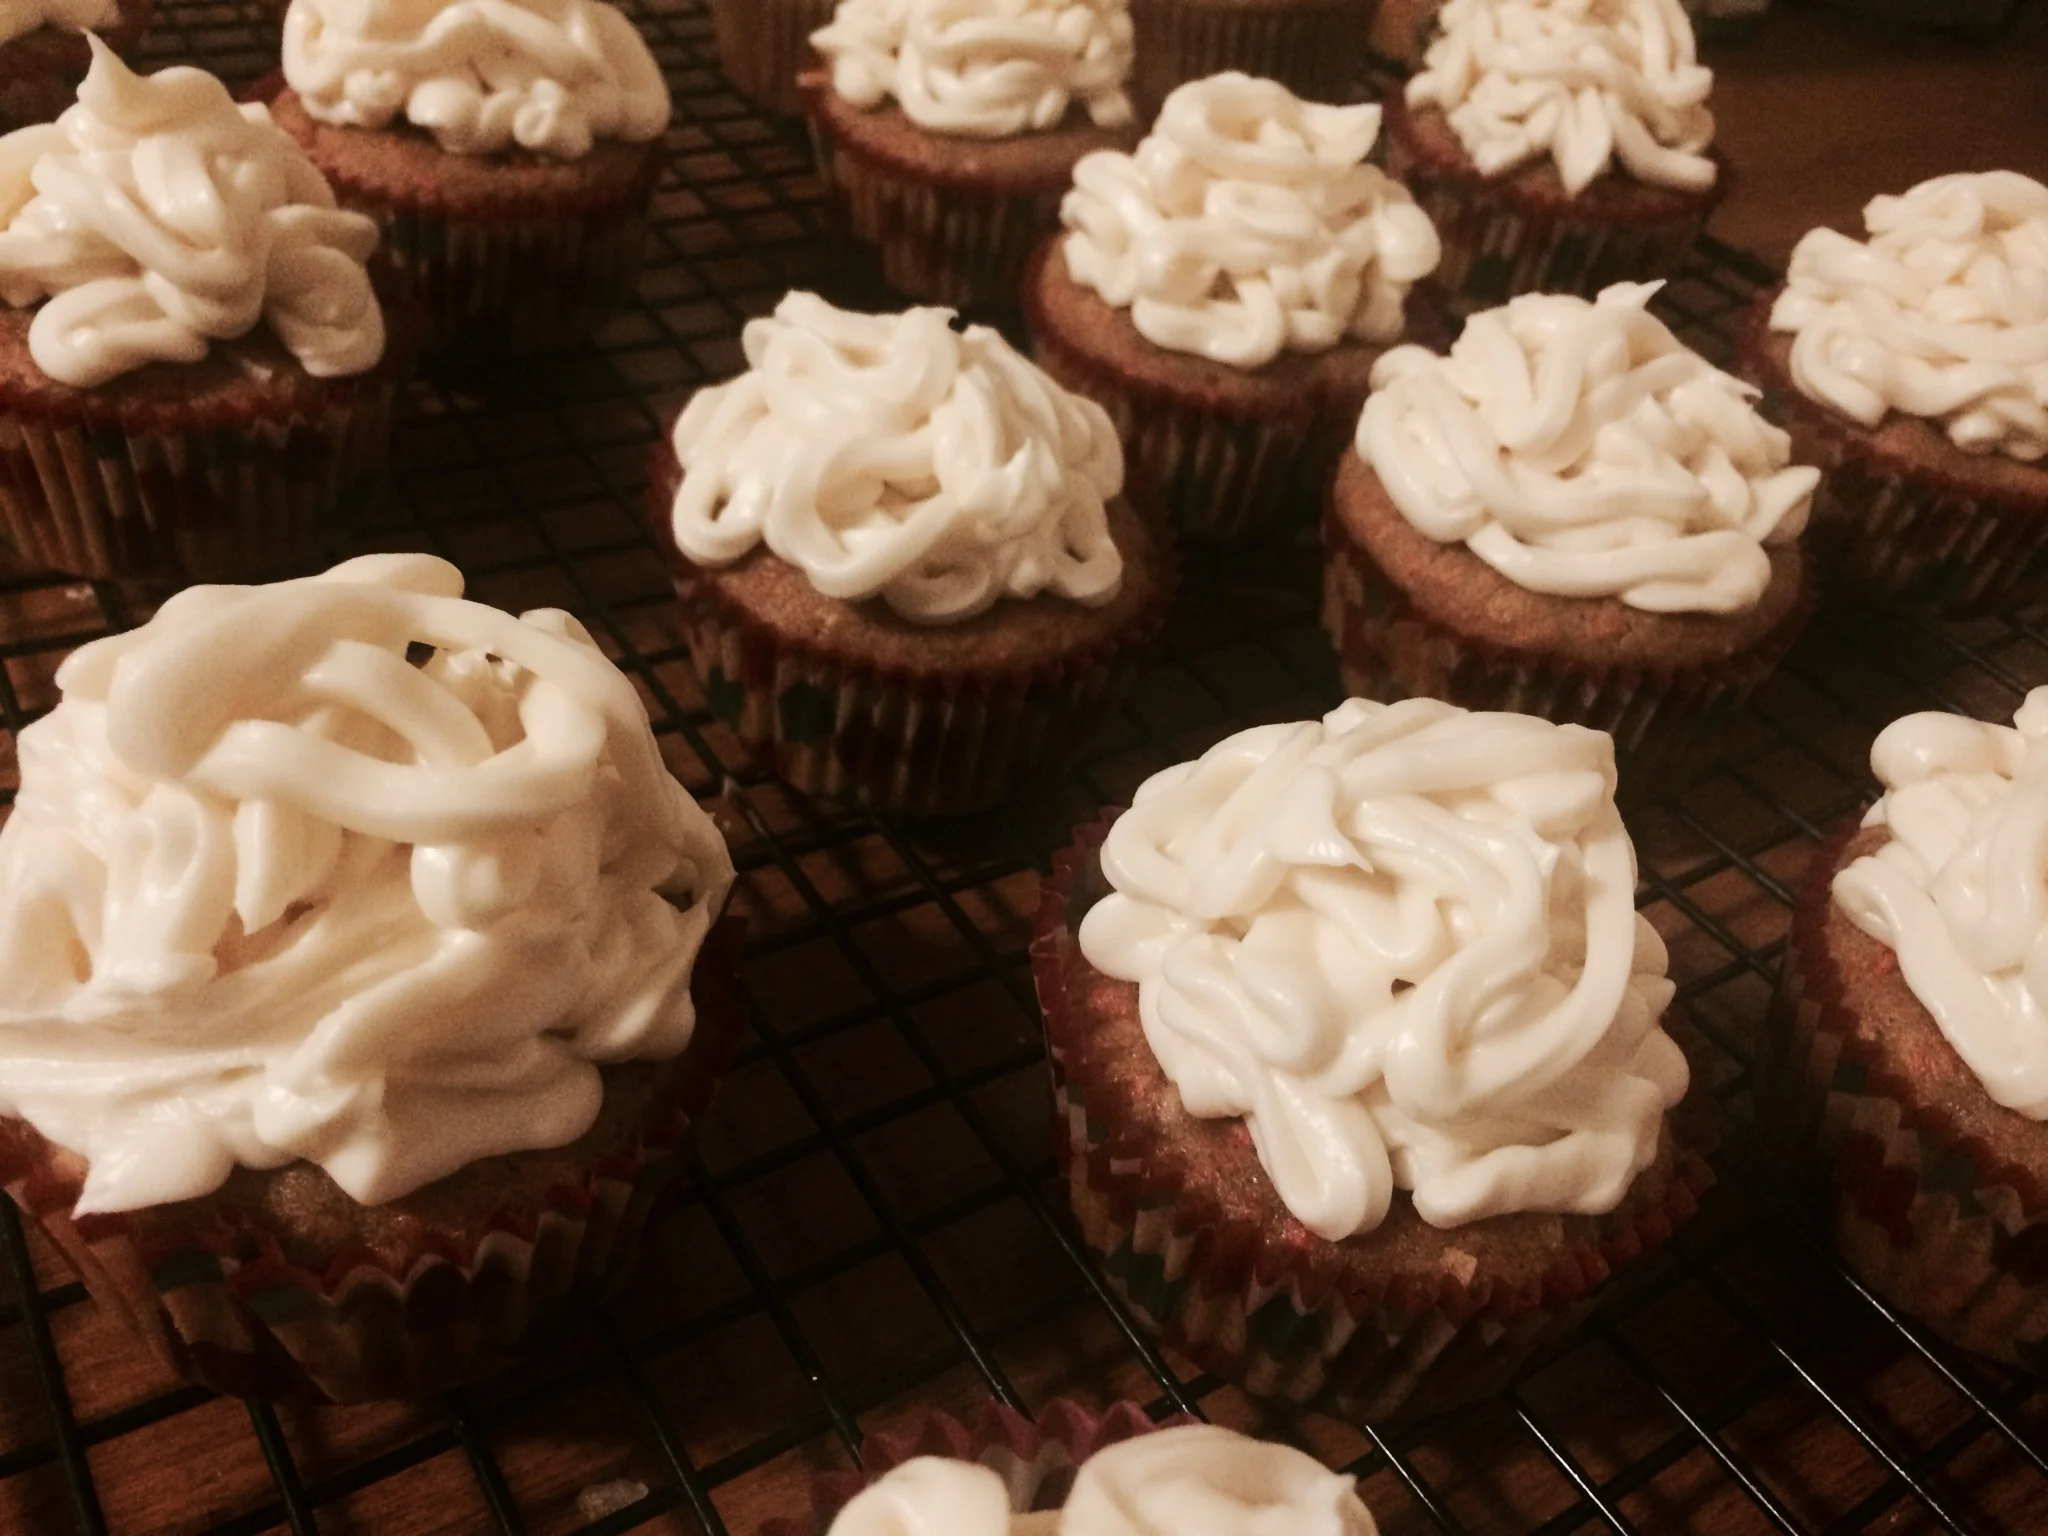
Once the cupcakes are cool, pile on the frosting. This time, I decided to improvise with a crazy technique using a small leaf tip and a pastry bag. There's no real pattern here, I just let it take its own form, as you can see...
I loved that this technique looked kind of wild but still classy and put together. I will definitely be using it again!
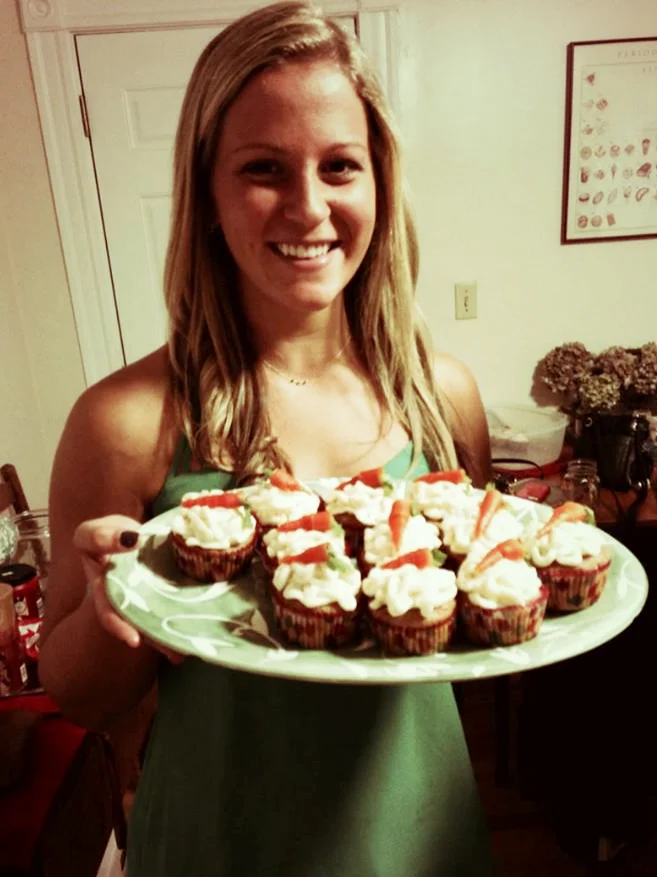
When you're ready to serve the cupcakes, add a candied carrot to each and stick a sprig of something leafy (I used cilantro) into the hollow part of the carrot so it looks like a carrot top. Here I am serving them at the birthday party!